
Looking to create the perfect home brewing setup? This guide will help you choose the essential equipment, optimize your brewing space, and master the process from start to finish.
Essential Home Brewing Equipment

Starting home brewing requires some essential equipment. You don’t need a full-scale brewery to produce beer at home. A basic starter kit typically includes a fermenting bucket, bottling bucket, bottling wand, bottle cap, auto-siphon, transfer tubing, hydrometer, airlock, and sanitizer solution. These kits are quite affordable, usually ranging from $70 to $140, making home brewing accessible to most enthusiasts.
Besides the starter kit, a large pot or brew kettle and a heat source like a propane burner or electric system are necessary. Combining the right equipment with quality ingredients and some experimentation lets you create better beer. With the proper setup, you can produce award-winning beer tailored to your taste.
Next, we’ll explore key pieces of equipment needed for your home brewery build, beginning with the brew kettle.
Brew Kettle
The brew kettle is the heart of your brewing process. For brewing 5-gallon batches, a 7-8 gallon kettle is recommended to prevent boil-overs and accommodate the full wort volume. These kettles are typically made from stainless steel or aluminum, each offering different benefits. High-end models may include features like built-in straining systems and self-heating capabilities for precision control.
Brewing indoors on a kitchen stove or outdoors, a good brew kettle is vital for a successful brew day.
Fermenters
Fermenters are where your wort transforms into beer. Options include glass carboys, plastic buckets, and stainless steel fermenters. Stainless steel is often preferred for its durability and ease of cleaning.
Conical fermenters, with their cone-shaped bottoms, larger capacity, and useful ports for dry hopping and cooling, offer an upgrade for experienced brewers. Selecting the right fermenter helps maintain the quality and flavor of your beer.
Propane Burner vs. Electric Heat Source
Choosing between a propane burner and an electric heat source depends on your brewing environment. Propane burners are ideal for outdoor brewing, especially in colder months, as they avoid heating issues and offer robust support for heavy kettles.
Electric systems, on the other hand, provide consistent temperature control, making them perfect for brewing indoors. Use a propane burner for outdoor brewing and an electric heat source for indoor brewing to achieve the best results.
Setting Up Your Brewing Space
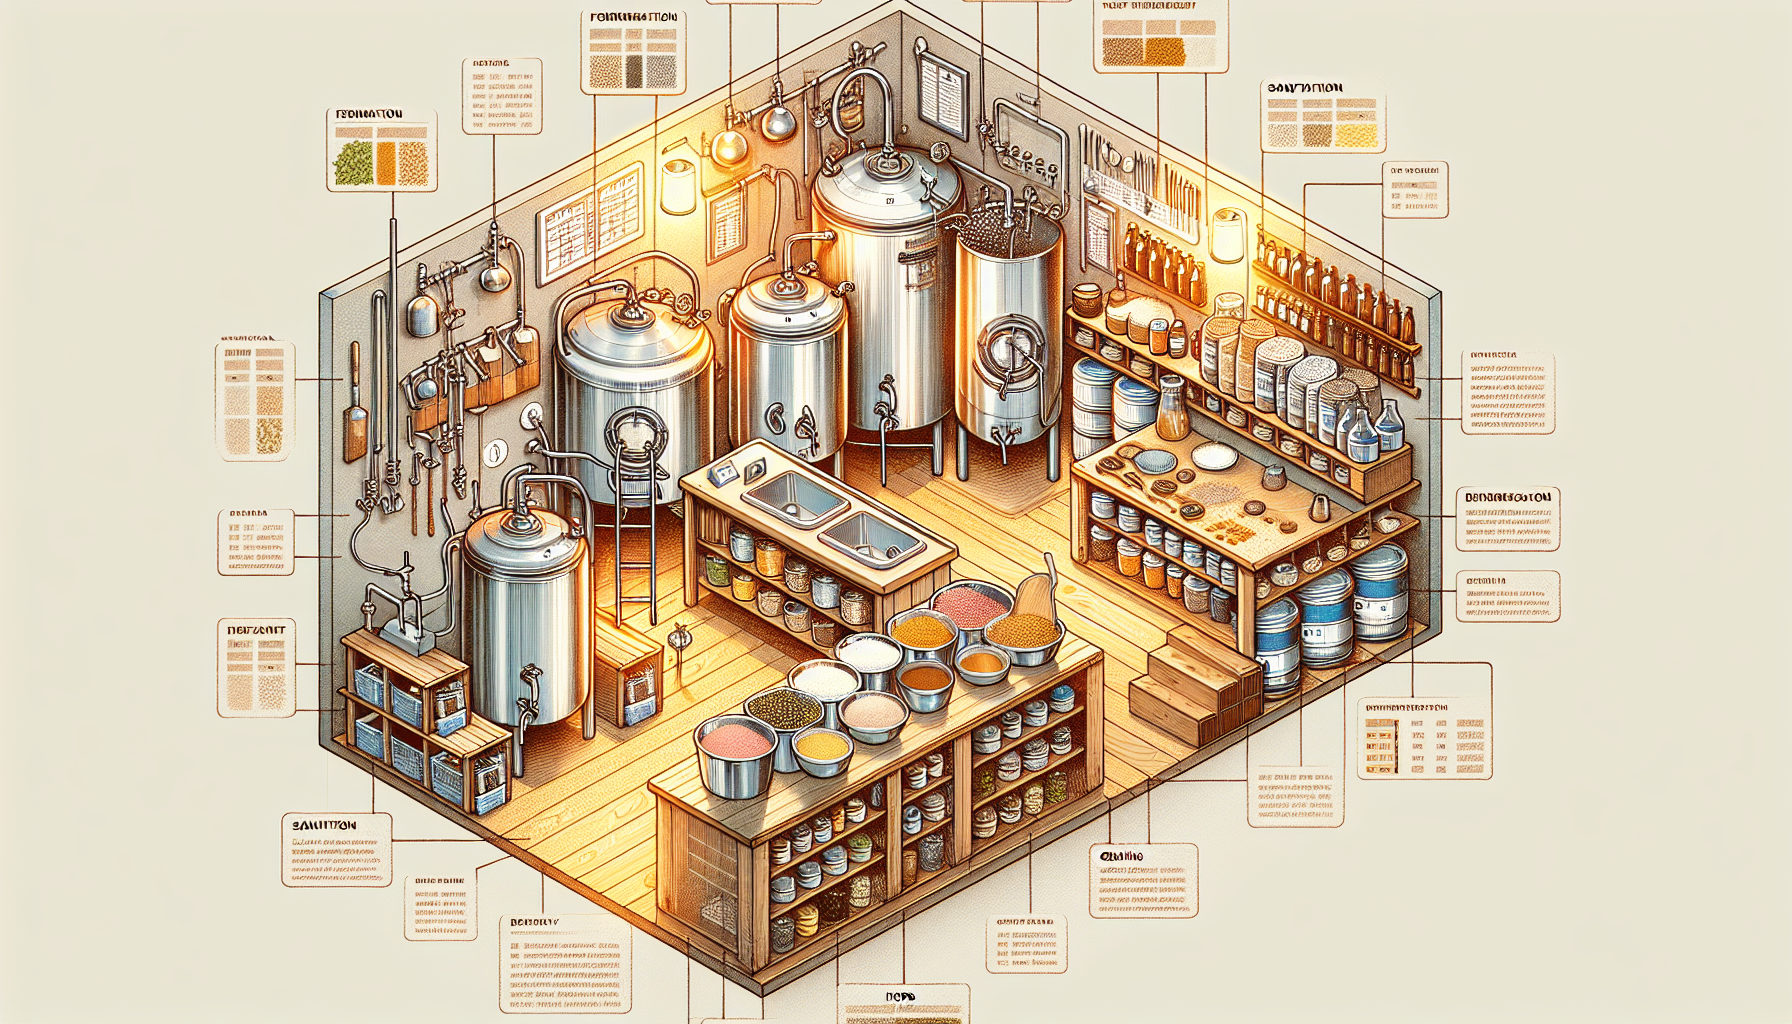
A dedicated brewing space is crucial for an efficient and enjoyable brewing experience. Start by measuring your available space to ensure you have enough room for all the equipment needed. Using clear storage bins labeled for different brewing stages can reduce clutter and keep your area organized. Vertical storage solutions like commercial shelving and pegboards can maximize space and keep your equipment accessible.
Grouping similar items together and having a separate storage area for bulk ingredients will help maintain a clean and functional brewing setup. Proper ventilation is necessary, so consider a condensate hood with a ventilation fan to keep your brewing area well-ventilated.
Next, we’ll break down the key components of an efficient brewing space, starting with the hot liquor tank and mash tun.
Hot Liquor Tank and Mash Tun
The hot liquor tank and mash tun are vital for the mashing process, where grains are mixed with hot water to extract fermentable sugars. Your wort production area should include a utility sink, hot liquor tank, mash tun, boil kettle, and control panel for an efficient brewing process.
The Brew in a Bag (BIAB) method simplifies this process by combining the mash and boil into one step, making it ideal for those with limited space.
Boil Kettle and Wort Chiller
A suitable boil kettle is crucial for effective home brewing, as it influences the quality of your brew. When selecting a boil kettle, consider the material, size, and whether it has a built-in thermometer.
An immersion chiller is favored among advanced home brewers for efficiently cooling wort, minimizing the equipment needed and making it ideal for those with limited space, ensuring a smooth brewing process and better beer.
Sanitation Station
A dedicated sanitation station maintains cleanliness and prevents contamination. A utility sink in the wort production area facilitates the brewing process by providing a space to clean equipment. A large sink is recommended to accommodate cleaning larger brewing equipment.
Ensure your sanitation station has enough space for drying cleaned equipment to maintain a clean and efficient brewing setup.
Brewing Process: Step-by-Step Guide
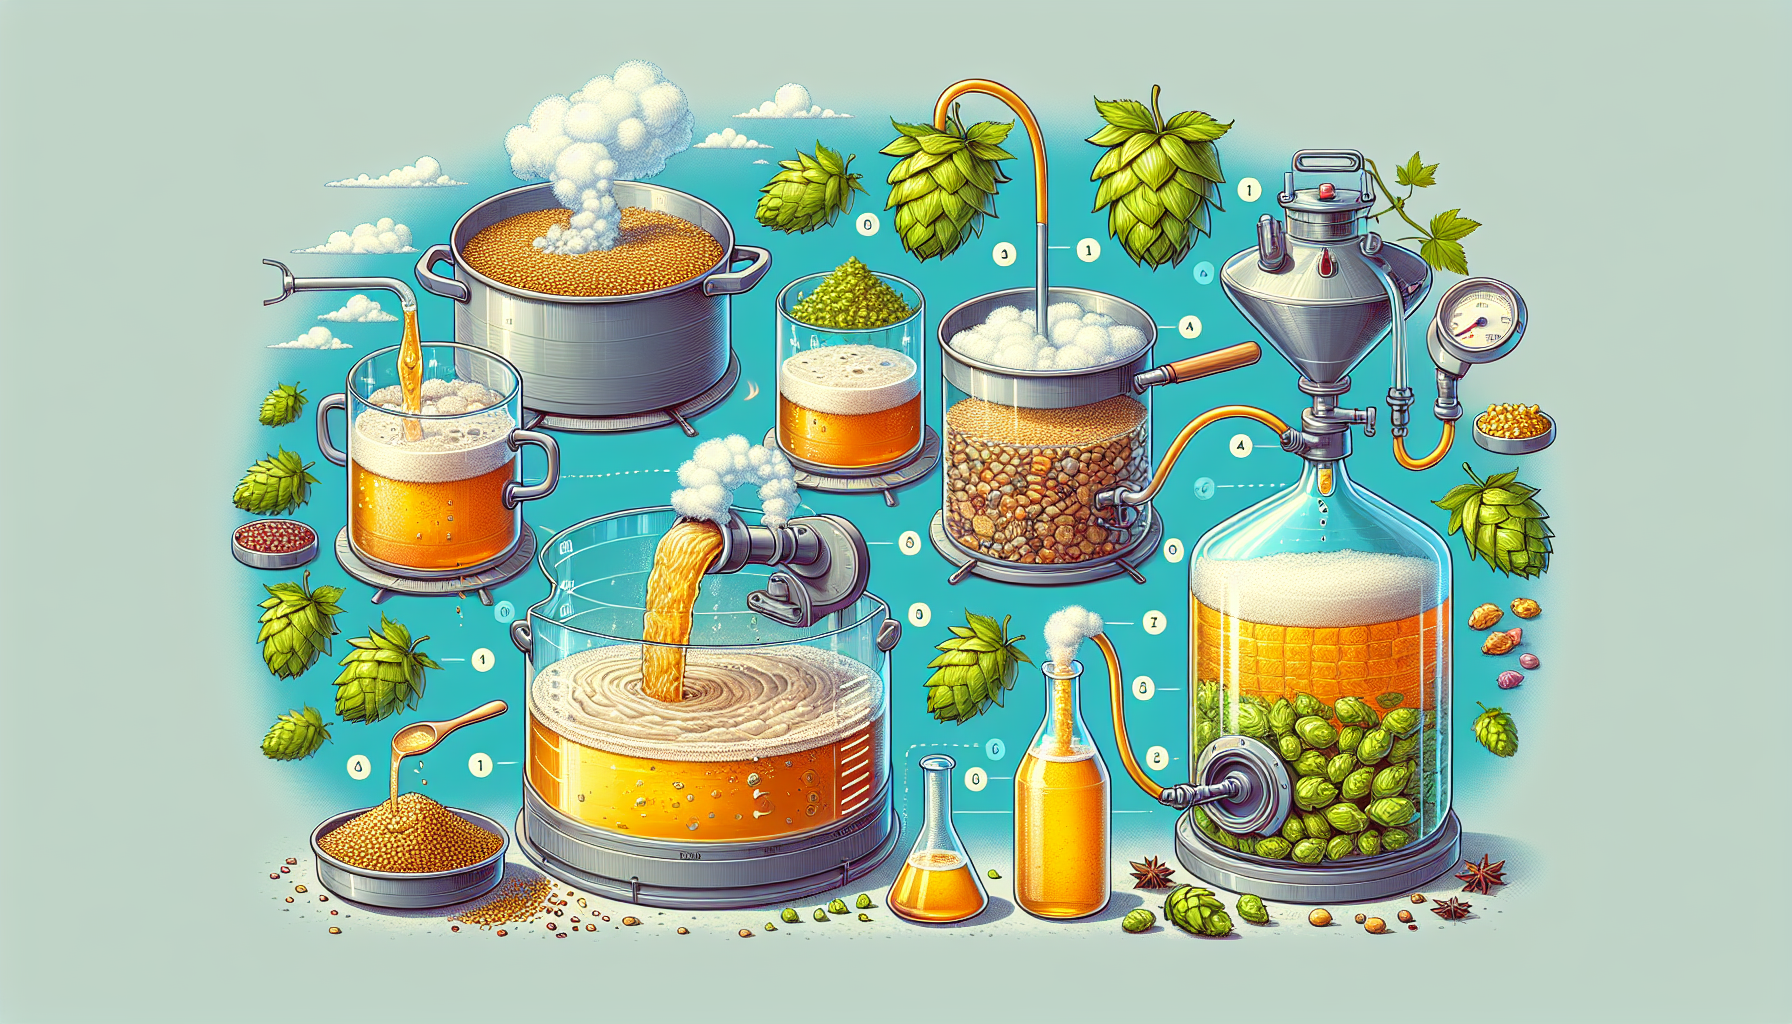
The brewing process is the heart of making your own beer. It typically consists of eight essential steps: sanitizing equipment, preparing yeast, boiling wort, and fermenting beer, among others. A typical brew day starts early, around 9:00 am, and involves checking R.O. water levels and laying out additives. The average duration of a brew day is between 2.5 to 5 hours, with most brewing batches requiring around 3 to 4 weeks, including bottling.
Let’s break down the brewing process into three main stages: steeping specialty grains, the boil and hops addition, and chilling the wort and fermentation.
Steeping Specialty Grains
Steeping specialty grains is an essential step in home brewing that adds complexity and flavor to your beer by extracting sugars into the wort. This process typically takes about 20 minutes and significantly enhances the flavor profile of your brew.
This simple yet crucial part of the brewing process to brew beer sets the foundation for brewing beer a great beer.
The Boil and Hops Addition
The boiling process is critical for sanitizing the wort and extracting flavors and aromas from the hops. The typical duration is 60-90 minutes, with hop additions made after surpassing the hot break during the boil.
This stage is where you can experiment with different hop varieties to create unique flavor profiles for your beer.
Chilling the Wort and Fermentation
Quickly cooling the wort after boiling is crucial to reduce contamination and ensure better flavor and clarity. Methods like immersion chillers and ice baths are commonly used for effective wort chilling. Sanitize everything that contacts the wort during this stage to prevent infections.
Once chilled, the wort is transferred to a fermenter, where yeast is added to start the fermentation process. This stage typically takes around 10 to 14 days, during which the wort transforms into beer.
Using a glycol chiller can enhance cooling efficiency, reducing the chilling time to around 15 minutes, and a recirculating wort chiller can effectively reduce brewing time.
Advanced Brewing Techniques
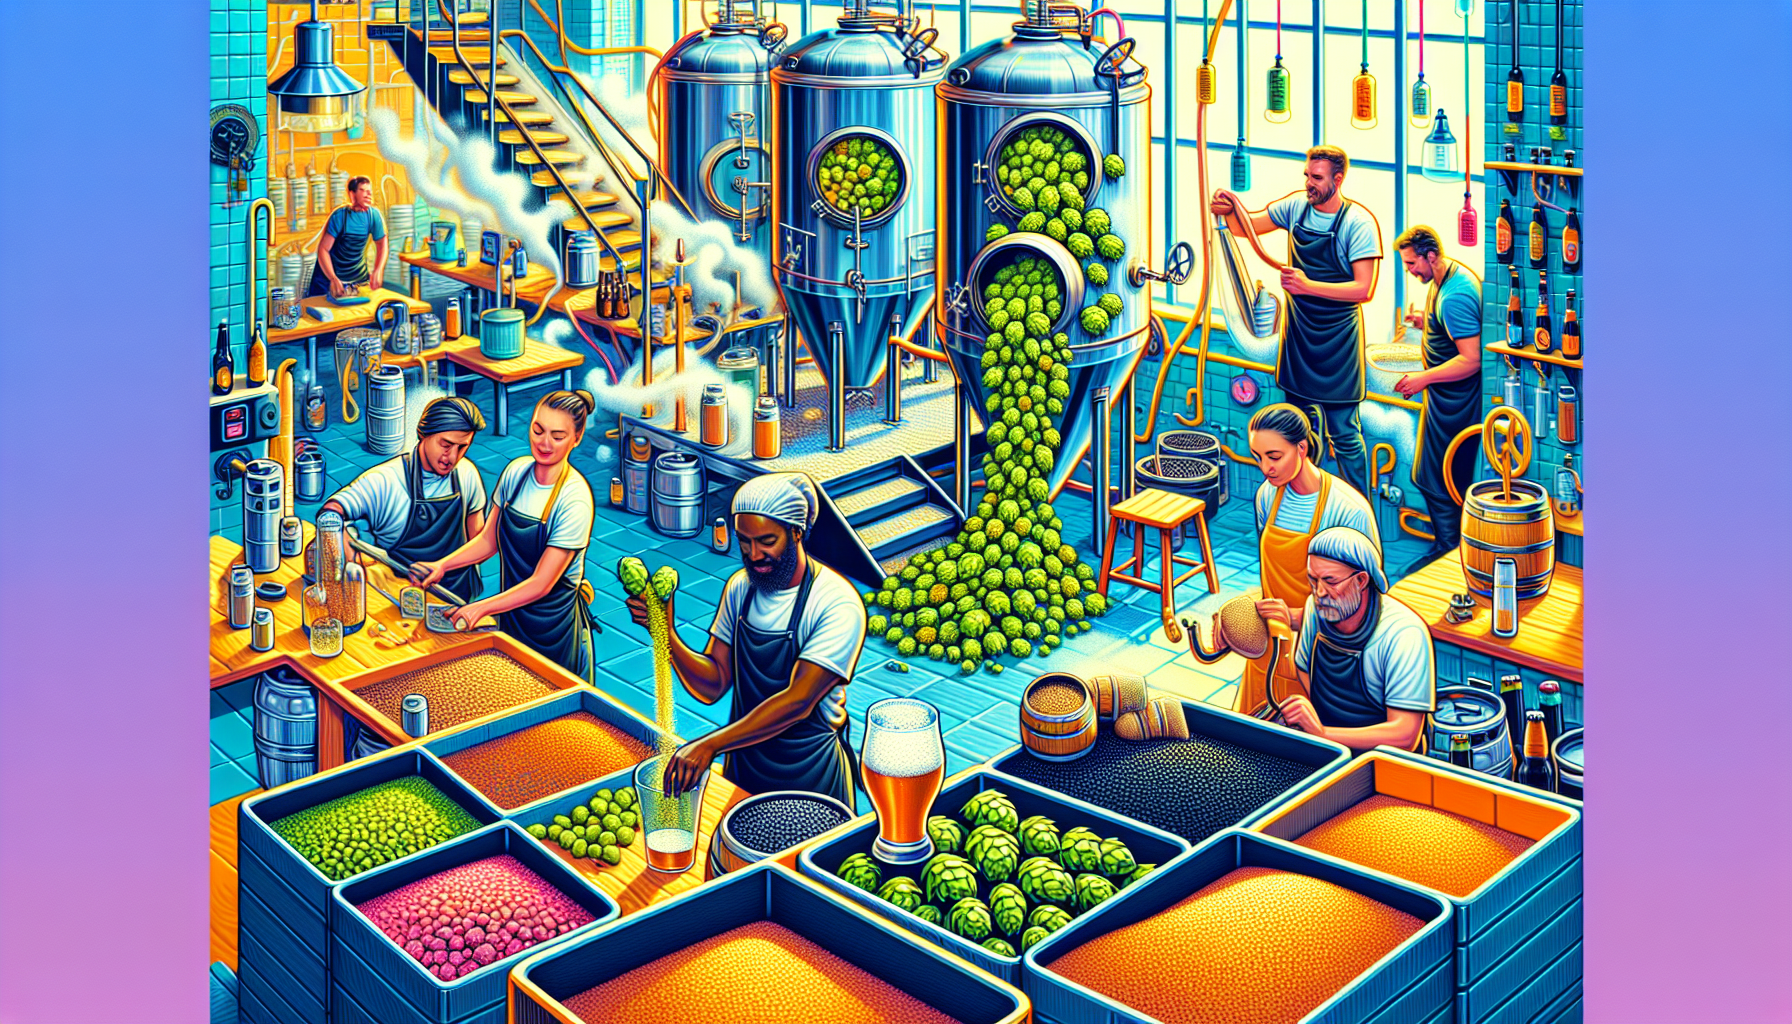
As you become more experienced in home brewing, exploring advanced techniques can significantly enhance the quality and complexity of your beer. Advanced techniques like all grain brewing, brew in a bag (BIAB), and dry hopping allow for greater control over the brewing process and open up new possibilities for experimentation.
All Grain Brewing
All grain brewing offers complete control over the mash temperature, impacting the final beer’s body and sweetness. This method allows for greater control over the flavor profile compared to extract brewing and can be more cost-effective in the long run by purchasing bulk grains.
Techniques like double crushing grains and extending mash times can achieve efficiency levels comparable to traditional methods.
Brew in a Bag (BIAB)
Brew-in-a-Bag (BIAB) simplifies the all grain brewing process by using a single vessel system that steeps crushed grains in a nylon bag. This method eliminates the need for separate mash tuns, making it more accessible for beginners while still producing good beer.
It’s a great way to start all grain brewing without a significant equipment investment.
Dry Hopping
Dry hopping is the process of adding hops to your beer during fermentation instead of the boil, enhancing aroma and flavor profiles. Techniques for dry hopping include using whole hops, pellet hops, or hop oils, each impacting the final character of the brew differently.
This method is particularly popular for creating aromatic IPAs and other hop-forward styles.
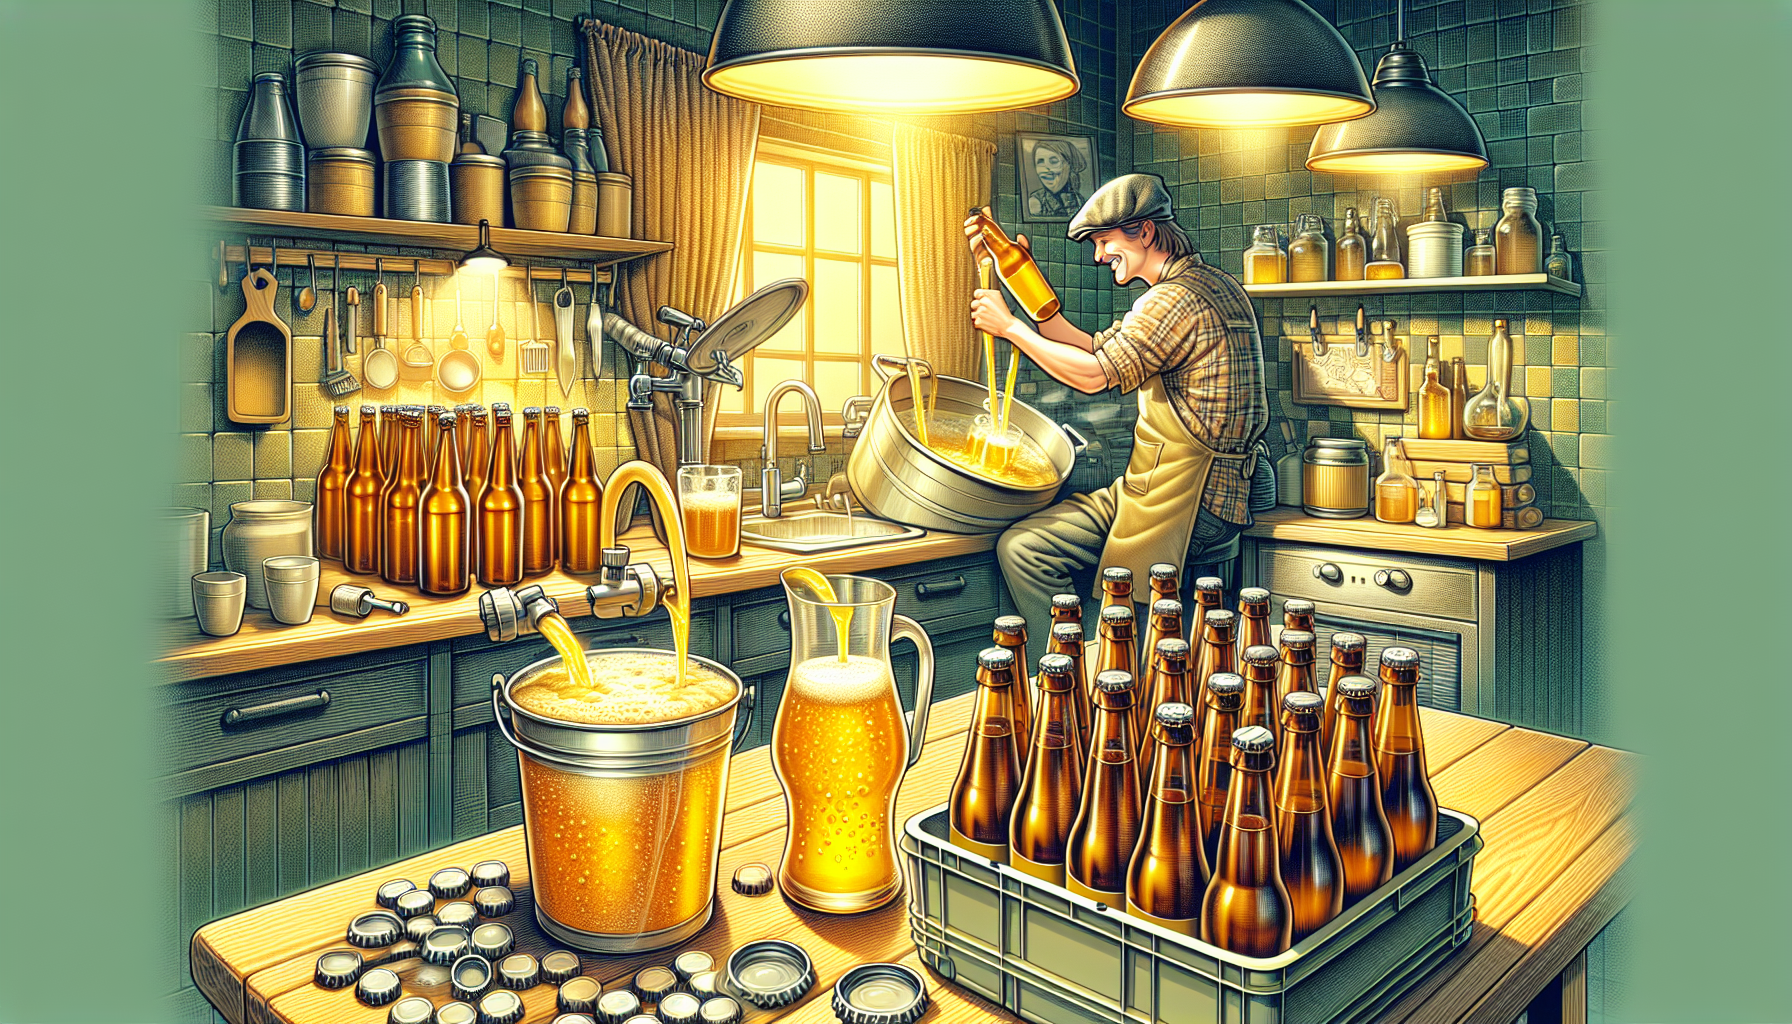
Packaging and Bottling Your Beer

Proper packaging and bottling are essential for maintaining the quality and carbonation of your homebrew. To package and carbonate your beer, you’ll need empty bottles, bottle caps, and a bottle capper. Using the right amount of priming sugar when bottling is crucial to maintain carbonation.
After siphoning your beer to the bottling bucket, add priming sugar to initiate carbonation. Taking a final gravity (FG) reading before bottling is important to calculate the ABV of your beer.
Bottling Bucket and Auto Siphon
A bottling bucket is an essential piece of equipment included in a brew kit for bottling, along with a bottling wand. For a typical 5-gallon batch, you’ll need about 48 12-ounce bottles.
While some brewers prefer not to use a bottling bucket due to concerns about oxygen introduction, it remains a popular choice for many homebrewers.
Bottle Caps and Cappers
A dual-lever capper ensures a secure seal on glass bottles, preventing leaks and oxidation. Choosing the right capper is crucial to maintain the quality and freshness of your homebrew.
A proper seal not only maintains carbonation but also protects your beer from external contaminants.
Kegging vs. Bottling
Kegging offers several benefits over bottling, including better taste, easier handling, and quicker serving. However, bottling is often more accessible for homebrewers due to the lower initial investment required for kegging systems.
Both methods have their distinct advantages, and the choice depends on your individual preferences and circumstances.
Temperature Control and Storage
Maintaining proper temperature control and storage is crucial for ensuring the quality of your beer. Consistent fermentation temperatures are essential for creating quality beer and preventing off-flavors.
Proper storage conditions also help maintain the flavor and carbonation of your finished beer.
Fermentation Temperature Control
Controlling fermentation temperatures is vital, as temperatures above 70°F can stress yeast, resulting in off-flavors and incomplete fermentation. Inconsistent fermentation temperature can introduce unwanted characteristics in the finished beer.
Insulating the fermentor and placing it in a water bath can help buffer temperature changes and slow heating during fermentation. Using an external thermostat for precise temperature settings is recommended for fermentation fridges.
Storing Bottled Beer
Store bottled beer in a cool, dark place with a consistent temperature between 45°F and 55°F to avoid light exposure and temperature fluctuations. Keep bottles upright to minimize oxidation and prevent the yeast sediment from coming into contact with the beer.
Aging bottles for several months can enhance certain beer styles’ flavors, but it’s important to monitor the beer to avoid over-aging.
Draft Beer Setup
A home draft beer system can enhance flavor and efficiency by serving fresh beer on tap. A kegerator is a popular choice for creating a draft beer setup at home, allowing for easy dispensing of beer from a keg.
Proper line lengths and appropriate CO2 pressure are essential to maintain beer quality in a draft system.
DIY Projects for Home Brewers
DIY projects can significantly enhance your home brewing setup, making the process more enjoyable and efficient. Upgrading to automation systems can provide better control over your brewing process and improve the quality of your beer.
Let’s explore some popular DIY projects for home brewers, including building a keezer, customizing your brewing space, and installing a reverse osmosis (RO) system.
Building a Keezer
Building a keezer involves converting a chest freezer into a kegerator for storing and dispensing draft beer. Choose a chest freezer that meets your storage needs and has enough height clearance for your kegs and CO2 tank.
Install a temperature controller to maintain the ideal serving temperature for your beer. Assemble the kegs inside the freezer, connecting the gas lines and pouring taps for operation.
Decorate the exterior of the keezer to match your style or home bar theme for a personal touch.
Customizing Your Brewing Space
Incorporating personal touches in your brewing area can enhance both aesthetics and functionality. Consider adding unique storage solutions, decorative elements, and personalized tools to reflect your style.
These enhancements not only make brewing more enjoyable but also keep your space organized and efficient.
Installing a RO System
Installing a reverse osmosis (RO) system provides a blank slate for better water chemistry, enhancing the quality of your brew. Proper installation involves setting up the float valve, hoses, and vent for effective operation.
Following the outlined setup will ensure efficient use of the RO system for optimal brewing water.
Common Mistakes to Avoid
Avoiding common mistakes is critical for a successful home brewing experience. Reflecting on past mistakes and learning from them can help you improve your brewing process.
Let’s discuss some common mistakes and how to avoid them, focusing on inadequate sanitation, incorrect measurements, and poor temperature control.
Inadequate Sanitation
Maintaining proper sanitation practices during brewing is crucial to prevent infections and off-flavors in your beer. Cleaning and sanitizing all equipment before use can eliminate harmful bacteria and wild yeast that can spoil your brew.
Ensure fermentation temperatures are maintained between 65-75°F to avoid off-flavors.
Incorrect Measurements
Accurate measurements of ingredients are essential for achieving the desired taste and quality in home brewing. Using the correct quantities of malt, hops, and adjuncts ensures that the beer ferments properly and develops the intended flavors.
Consistent measurements lead to uniform results, allowing for more reliable and repeatable batches.
Poor Temperature Control
Maintaining proper temperature control is crucial for the brewing and fermentation process to ensure a high-quality beer. Temperature extremes can lead to off-flavors and spoil the overall quality of your beer.
Understanding and implementing temperature control methods is vital for successful home brewing and preserving the intended flavor profile.
Enhancing Your Brewing Skills
Continuously improving your brewing skills can lead to better beer and a more enjoyable brewing experience. Experimenting with various yeast strains and ingredients can significantly alter the flavor and character of your beer.
Let’s explore some ways to enhance your brewing skills, including joining local homebrewing clubs, attending brewing workshops, and experimenting with your own recipes.
Joining Local Homebrewing Clubs
Joining a local homebrewing club gives access to collective knowledge and experiences among fellow brewers. Networking with other homebrewers lets you learn from conversations and share tips and tricks.
If you can’t find a local club, consider creating one to foster community and collaboration.
Attending Brewing Workshops
Attending brewing workshops and courses provides invaluable knowledge and hands-on experience from experienced brewers and professionals. Entering your beer in competitions is a great way to gain insights from judges and fellow brewers, helping you refine your recipes and brewing methods.
Continuous learning is key to mastering the art of home brewing.
Experimenting with Own Recipes
Experimenting with your own recipes allows for creativity and the development of unique flavor profiles. Select high-quality malts, hops, and yeast as key ingredients and pay attention to fermentation time and temperature for the best results.
Keep detailed notes on recipes and conditions to track and refine your brewing experiments. Be open to feedback and willing to adjust your recipes based on tasting trials.
Summary
Home brewing is a rewarding hobby that combines science, creativity, and a bit of patience. By setting up the perfect home brewing setup, you can produce high-quality beer tailored to your taste. From essential equipment and space organization to mastering the brewing process and exploring advanced techniques, this guide has covered everything you need to know to start brewing or improve your skills.
As you embark on your home brewing journey, remember to have fun and experiment with different ingredients and techniques. Join a local homebrewing club, attend workshops, and continuously learn to enhance your brewing skills. With dedication and practice, you’ll be able to create award-winning beer and enjoy the satisfaction of brewing your own beer at home.
Frequently Asked Questions
What is the most essential piece of equipment for home brewing?
The brew kettle is essential for home brewing since it’s used to boil the wort, a crucial step in the process. Make sure you invest in a good one!
Can I brew beer indoors?
Absolutely, you can brew beer indoors! Just use an electric heat source for better temperature control and you’re good to go.
How important is sanitation in home brewing?
Sanitation is super important in home brewing to avoid infections and off-flavors in your beer. Keep everything clean to enjoy the best brews!
Should I start with extract brewing or all grain brewing?
Start with extract brewing if you’re a beginner since it’s easier to handle, but if you’re ready for more control and complexity, all grain brewing can elevate your brewing game.
What are the benefits of joining a homebrewing club?
Joining a homebrewing club is a great way to tap into a supportive community and gain valuable knowledge from experienced brewers. You’ll also have tons of chances to learn and improve your brewing skills!
Leave a Reply